

A scrub emergency at work needs two decisions in order: protect your coverage and follow the workplace rule for the event. Step away as soon as the task can be handed off safely, move to a private changing area, and use a clean spare set if you have one. Do not let a stain trick, a makeshift repair, or a seller policy overrule your workplace’s response procedure.
LumiScrubs publishes this guide and sells the two sets shown below. It is a workplace-preparedness guide, not proof that either product prevents stains, tears, closure failures, or fit changes. Product and policy sources were checked on August 28, 2026.
The first five minutes
| What happened | First response | Do not assume |
|---|---|---|
| Seam or fabric opened | Pause, protect coverage, hand off the task, change in private | That a pin or tape makes the garment work-ready |
| Visible spill or stain | Follow the workplace procedure for that substance, then change if required | That cold water, hot water, or one cleaner is correct for every substance |
| Zipper, snap, or closure stopped working | Decide whether coverage, item security, or movement is affected; change if it is | That forcing the closure will fix it |
| Waistband or fit shifted | Step away, adjust in private, then change if the garment will not stay in position | That tightening alone identifies the cause |
| Pocket item escaped or pulled the garment | Secure the item according to workplace rules and unload that pocket | That a deeper pocket is automatically the answer |
If the event involves a substance, tool, or exposure governed by a workplace procedure, use that procedure. This article does not identify substances or prescribe cleanup. Its job is to help you preserve coverage, document the garment, and choose the right follow-up route.
1. A seam or fabric opening
Treat the location and size of the opening as separate facts. A small opening at a pocket corner, a side seam separation, and a tear across worn fabric are not the same problem.
If coverage has changed, stop relying on the garment. Move to a private area and change into a clean spare. A jacket or other permitted layer may provide temporary coverage while you leave the immediate area, but it does not restore the damaged garment.
Avoid pushing a pin, staple, or improvised fastener through fabric while you are still wearing it. A sharp repair can create another hazard, and adhesive can leave residue or pull on weak fabric. Make a proper repair decision only after the garment is off, clean, and inspected from both sides.
After the shift, photograph the whole garment, then the damaged zone from the outside and inside. Include a ruler beside the opening if scale matters. Note whether the separation followed a stitched line, began at a pocket corner, or crossed visibly thinned fabric. Do not label it a defect or normal wear before the seller or repairer reviews it.
2. A visible spill or stain
The substance and workplace rule determine the response, not the garment color. If the event is covered by a site procedure, follow it and change when directed. Put the removed garment where the workplace tells you to put it; do not carry it loose through shared areas.
For an ordinary mark that is not covered by a special workplace procedure, change first if the mark affects presentation or the garment needs treatment. Read the care label before using water, heat, bleach, solvent, or a stain product. This guide does not prescribe one treatment for every fabric or substance.
Record what contacted the garment, the time, the fabric area, and anything applied before washing. That record is more useful than “stain would not come out” if you later compare care methods or contact support.
Before drying the item, follow the applicable workplace procedure, care label, and product directions. This guide does not promise that one cleaner or drying choice will remove the mark.
3. A zipper, snap, or closure failure
First identify what the closure controls.
- A fly or front closure can affect coverage.
- A pocket closure can affect whether an item stays secured.
- A decorative closure may not affect the shift at all.
If coverage or item security is compromised, change garments or move the permitted item to an approved secure location. Do not keep forcing a jammed zipper. Pulling harder can change the failure and make later inspection less useful.
Photograph the closure before trying a repair. Capture the pull, teeth or coil, tape, stitching, and the surrounding fabric. Write whether it jammed, separated, detached, or stopped engaging. “Zipper broke” does not tell support which component changed.
4. A waistband or fit failure
Repeated pulling-up, rolling, twisting, or retightening can begin with base fit, rise, elastic, drawcord, one-sided pocket load, or a change in what you are wearing underneath. Unload the pockets first. If the garment still will not stay in position, use the spare set.
Write down whether the waist moved while empty or only after a particular item was added. Also note sitting, bending, stepping, and any change to the layer system. The scrub pant drawstring guide helps separate base fit, waistband, knot, and load symptoms; the scrub pocket test gives you a repeatable carry log.
A body-size change is not automatically a garment defect. Measure again and compare the clean garment with the current fit and size guide before reordering.
Build an evidence packet after the shift
Keep the report short enough that you will actually send it:
- Order number or purchase source, if available.
- Product name, size, color, and approximate first-wear date.
- Whole-garment photo plus close photos from both sides of the affected area.
- One sentence describing the action immediately before the event.
- Pocket contents or garment load, if relevant.
- Wash and drying history you can verify.
- The remedy you want: inspection guidance, repair advice, replacement review, or policy clarification.
Facts matter more than a dramatic label. “Right cargo-pocket corner opened while the pocket held a cased phone; surrounding fabric shows no visible thinning” gives a reviewer something to assess. “These pants exploded” does not.
For LumiScrubs orders, the current Shipping & Returns page directs customers with defective or incorrect items to keep the item, take clear photos, and contact support. It separately gives eligible non-personalized returns 30 days when items are unworn, unwashed, and in original packaging. A garment worn through a shift does not become a standard unworn return; contact support for the correct route instead.
Prevent the next emergency without inventing a lifespan
Inspect clean garments before they return to the work rotation. Use bright light and check both sides where possible.
| Zone | What to look for | More specific guide |
|---|---|---|
| Pocket corners and openings | Stitch change, fabric thinning, distortion, loose closure | Why scrub pants rip at the pocket |
| Waistband and drawcord | Twisting, rolling, fraying, repeated position loss | Drawstring quality |
| Seat, inner thigh, and other high-friction areas | Lighter patch, texture change, visible yarn movement | How long scrubs last |
| Coverage under bright light | Change from the same garment’s earlier baseline | Scrubs that are not see-through |
No calendar replaces inspection. Record the first change you see, the number of verified wears if you track them, and why the garment leaves the rotation.
Keep a spare that is actually usable
A backup set helps only if it is clean, fits now, meets the current written rule, and is stored where you can reach it. Check it after size, color, role, or location changes. Keep the top and pant together in a clean bag, and keep a second bag for the removed garment if your workplace permits that storage method.
The current Women’s Core Scrub Set and Men’s Motion Scrub Set were product-level in stock at $64.90 when checked. They are two current routes, not universal backup-set recommendations.

The image shows the visible neckline, top length, pocket openings, straight-leg line, and shoe interaction. It does not show emergency performance, fit on another body, or resistance to damage.
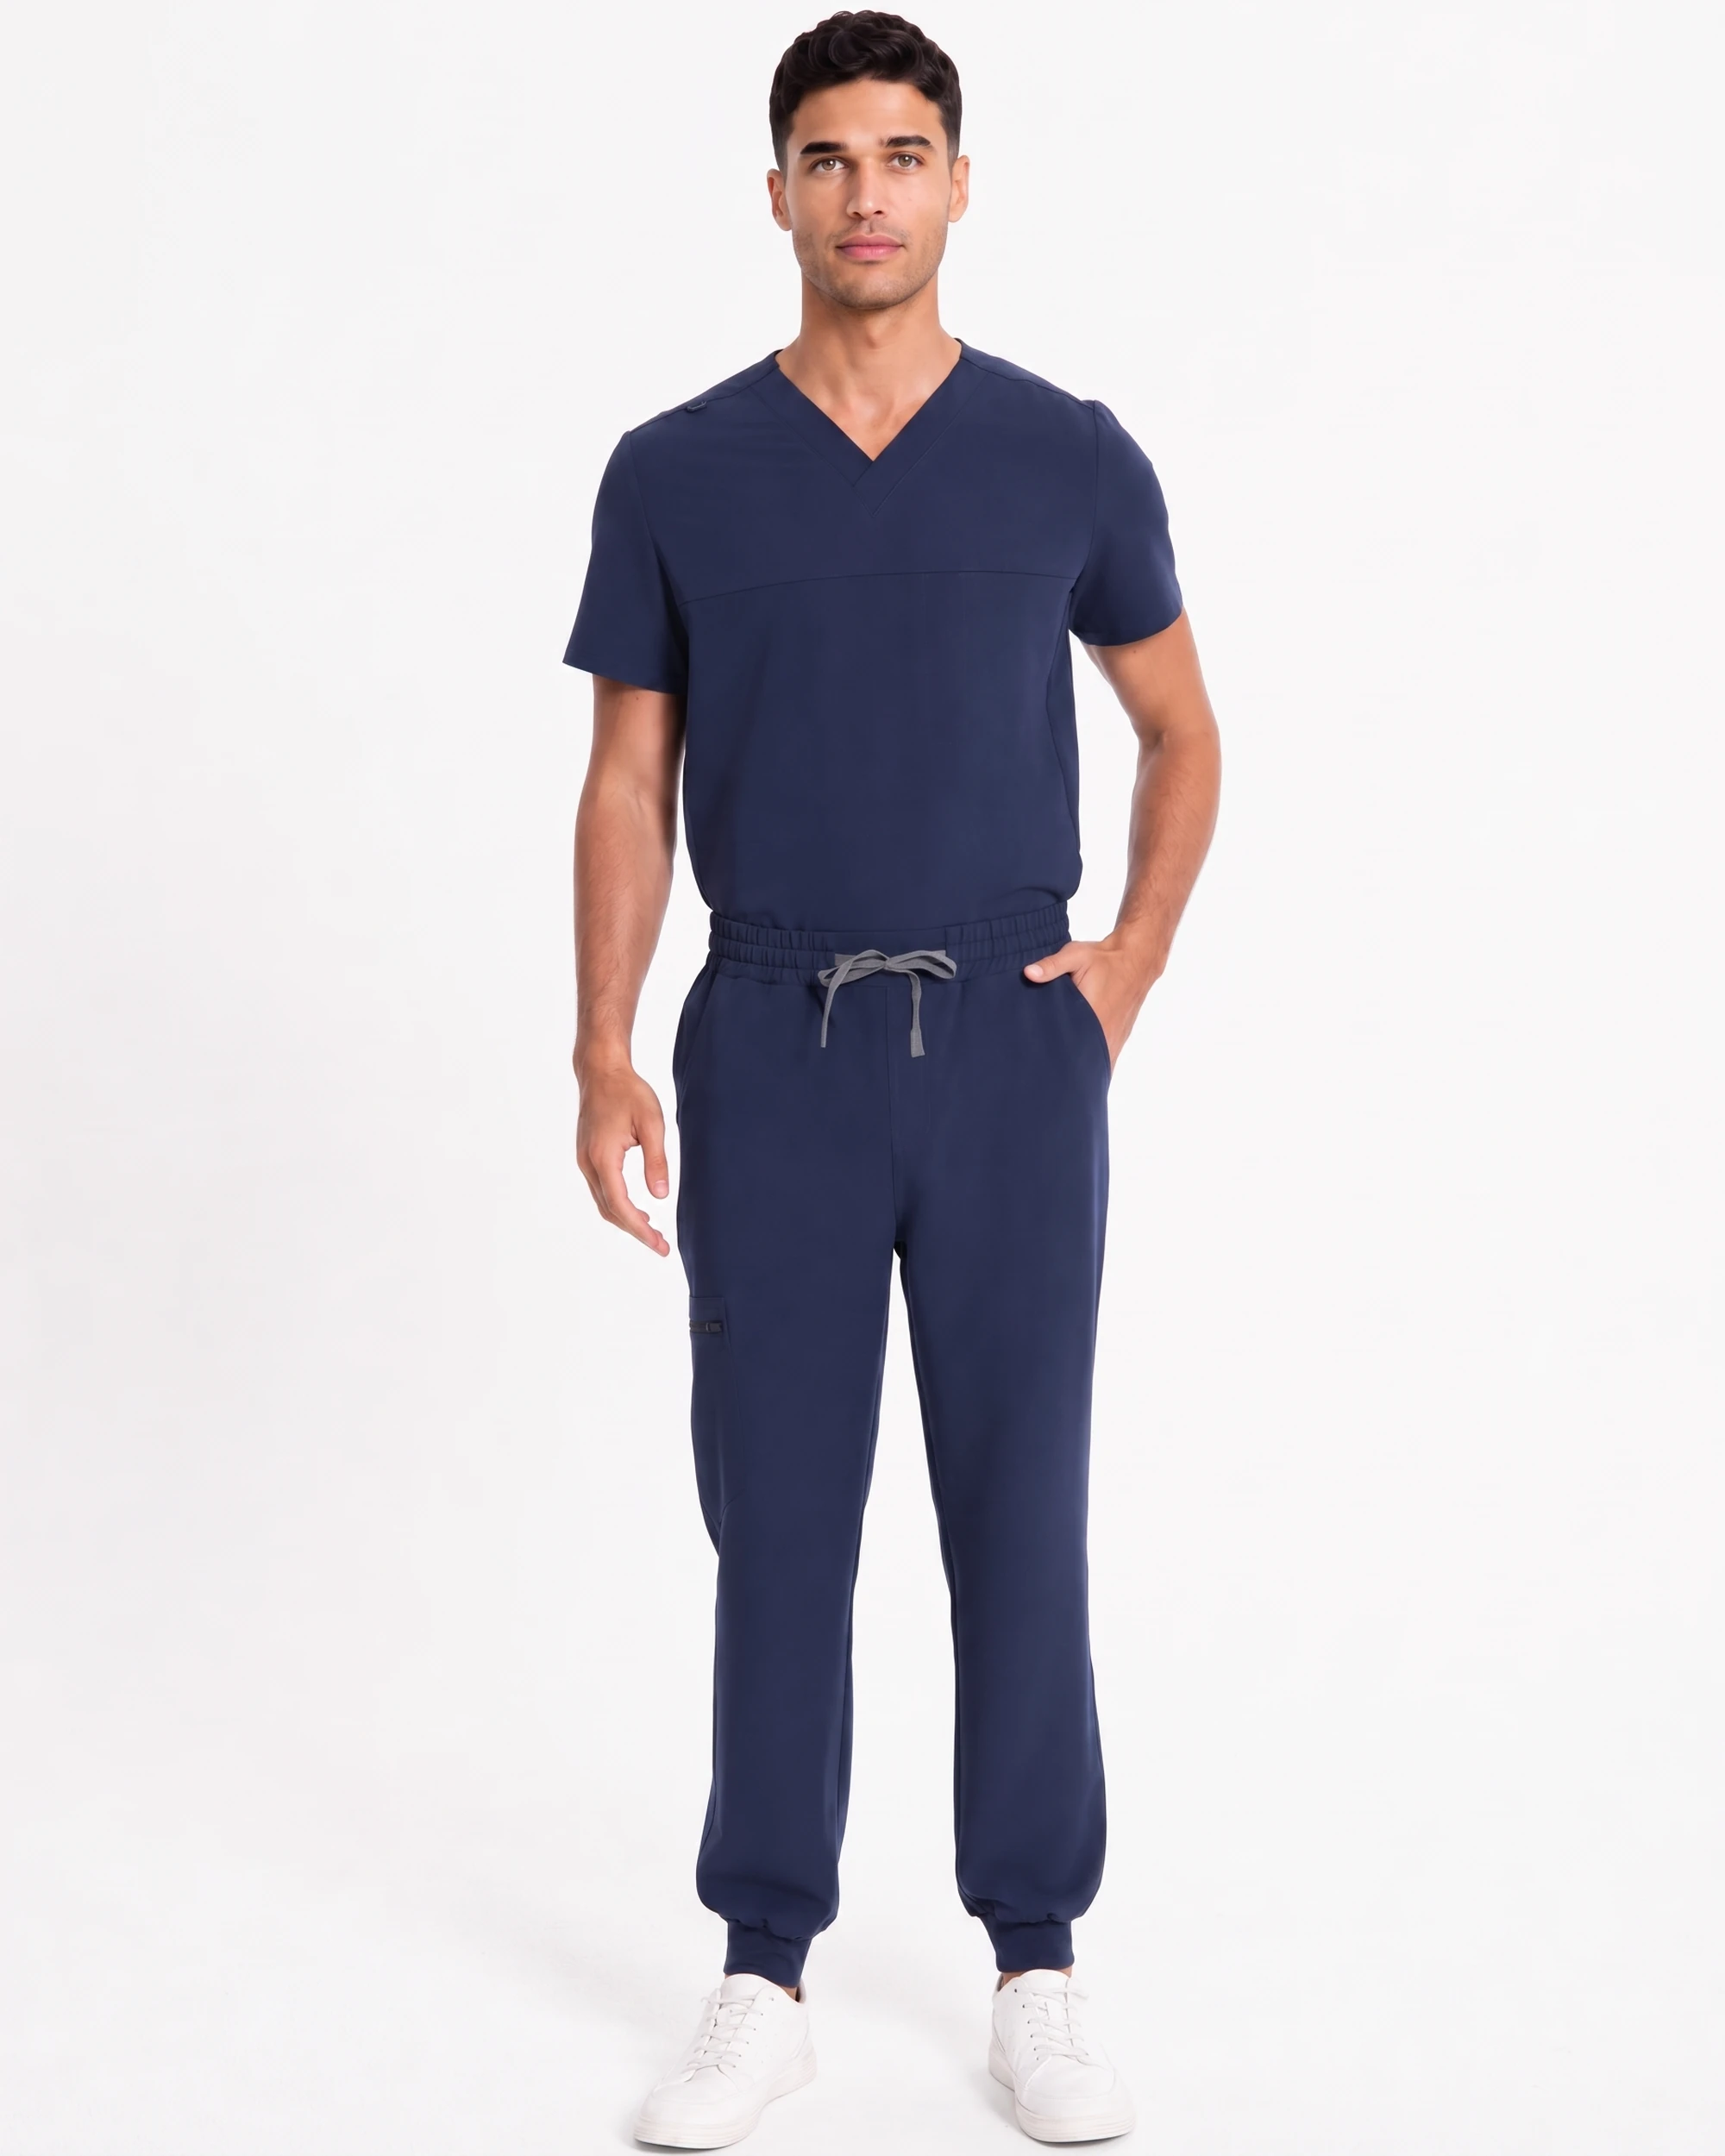
The front view shows the visible neckline, waist, drawcord, tapered leg, cuff, and shoe clearance. It is not a movement, closure-strength, or long-wear test.
If you need to build a clean spare, compare those two live set pages or browse the current scrub sets after confirming your color, fit, and workplace rules. Keep the tags attached until an eligible indoor fit check is complete.
Frequently asked questions
What should I do first if my scrubs tear at work?
Hand off the task when safe, protect coverage, and change in a private area. Follow any workplace procedure that applies to the event. Document the garment after it is removed.
Should I fix a torn seam with a safety pin?
Do not push a sharp improvised fastener through fabric while wearing the garment. Use a clean spare. Assess a repair only after the item is off, clean, and visible from both sides.
Is a stain covered by a quality policy?
Do not assume so. Record the substance and response, then read the seller’s current terms. A spill event, fabric defect, incorrect item, and ordinary return are different cases.
What photos help with a scrub quality report?
Take the whole garment, the affected area from outside and inside, the relevant seam or closure, and a scale reference when useful. Include product, size, date, load, and the movement before the event.
How often should I inspect a spare set?
Recheck it after any size, color, workplace-rule, or storage change. Otherwise, include it in the same clean-garment inspection routine as the rest of your rotation rather than relying on a fixed calendar.