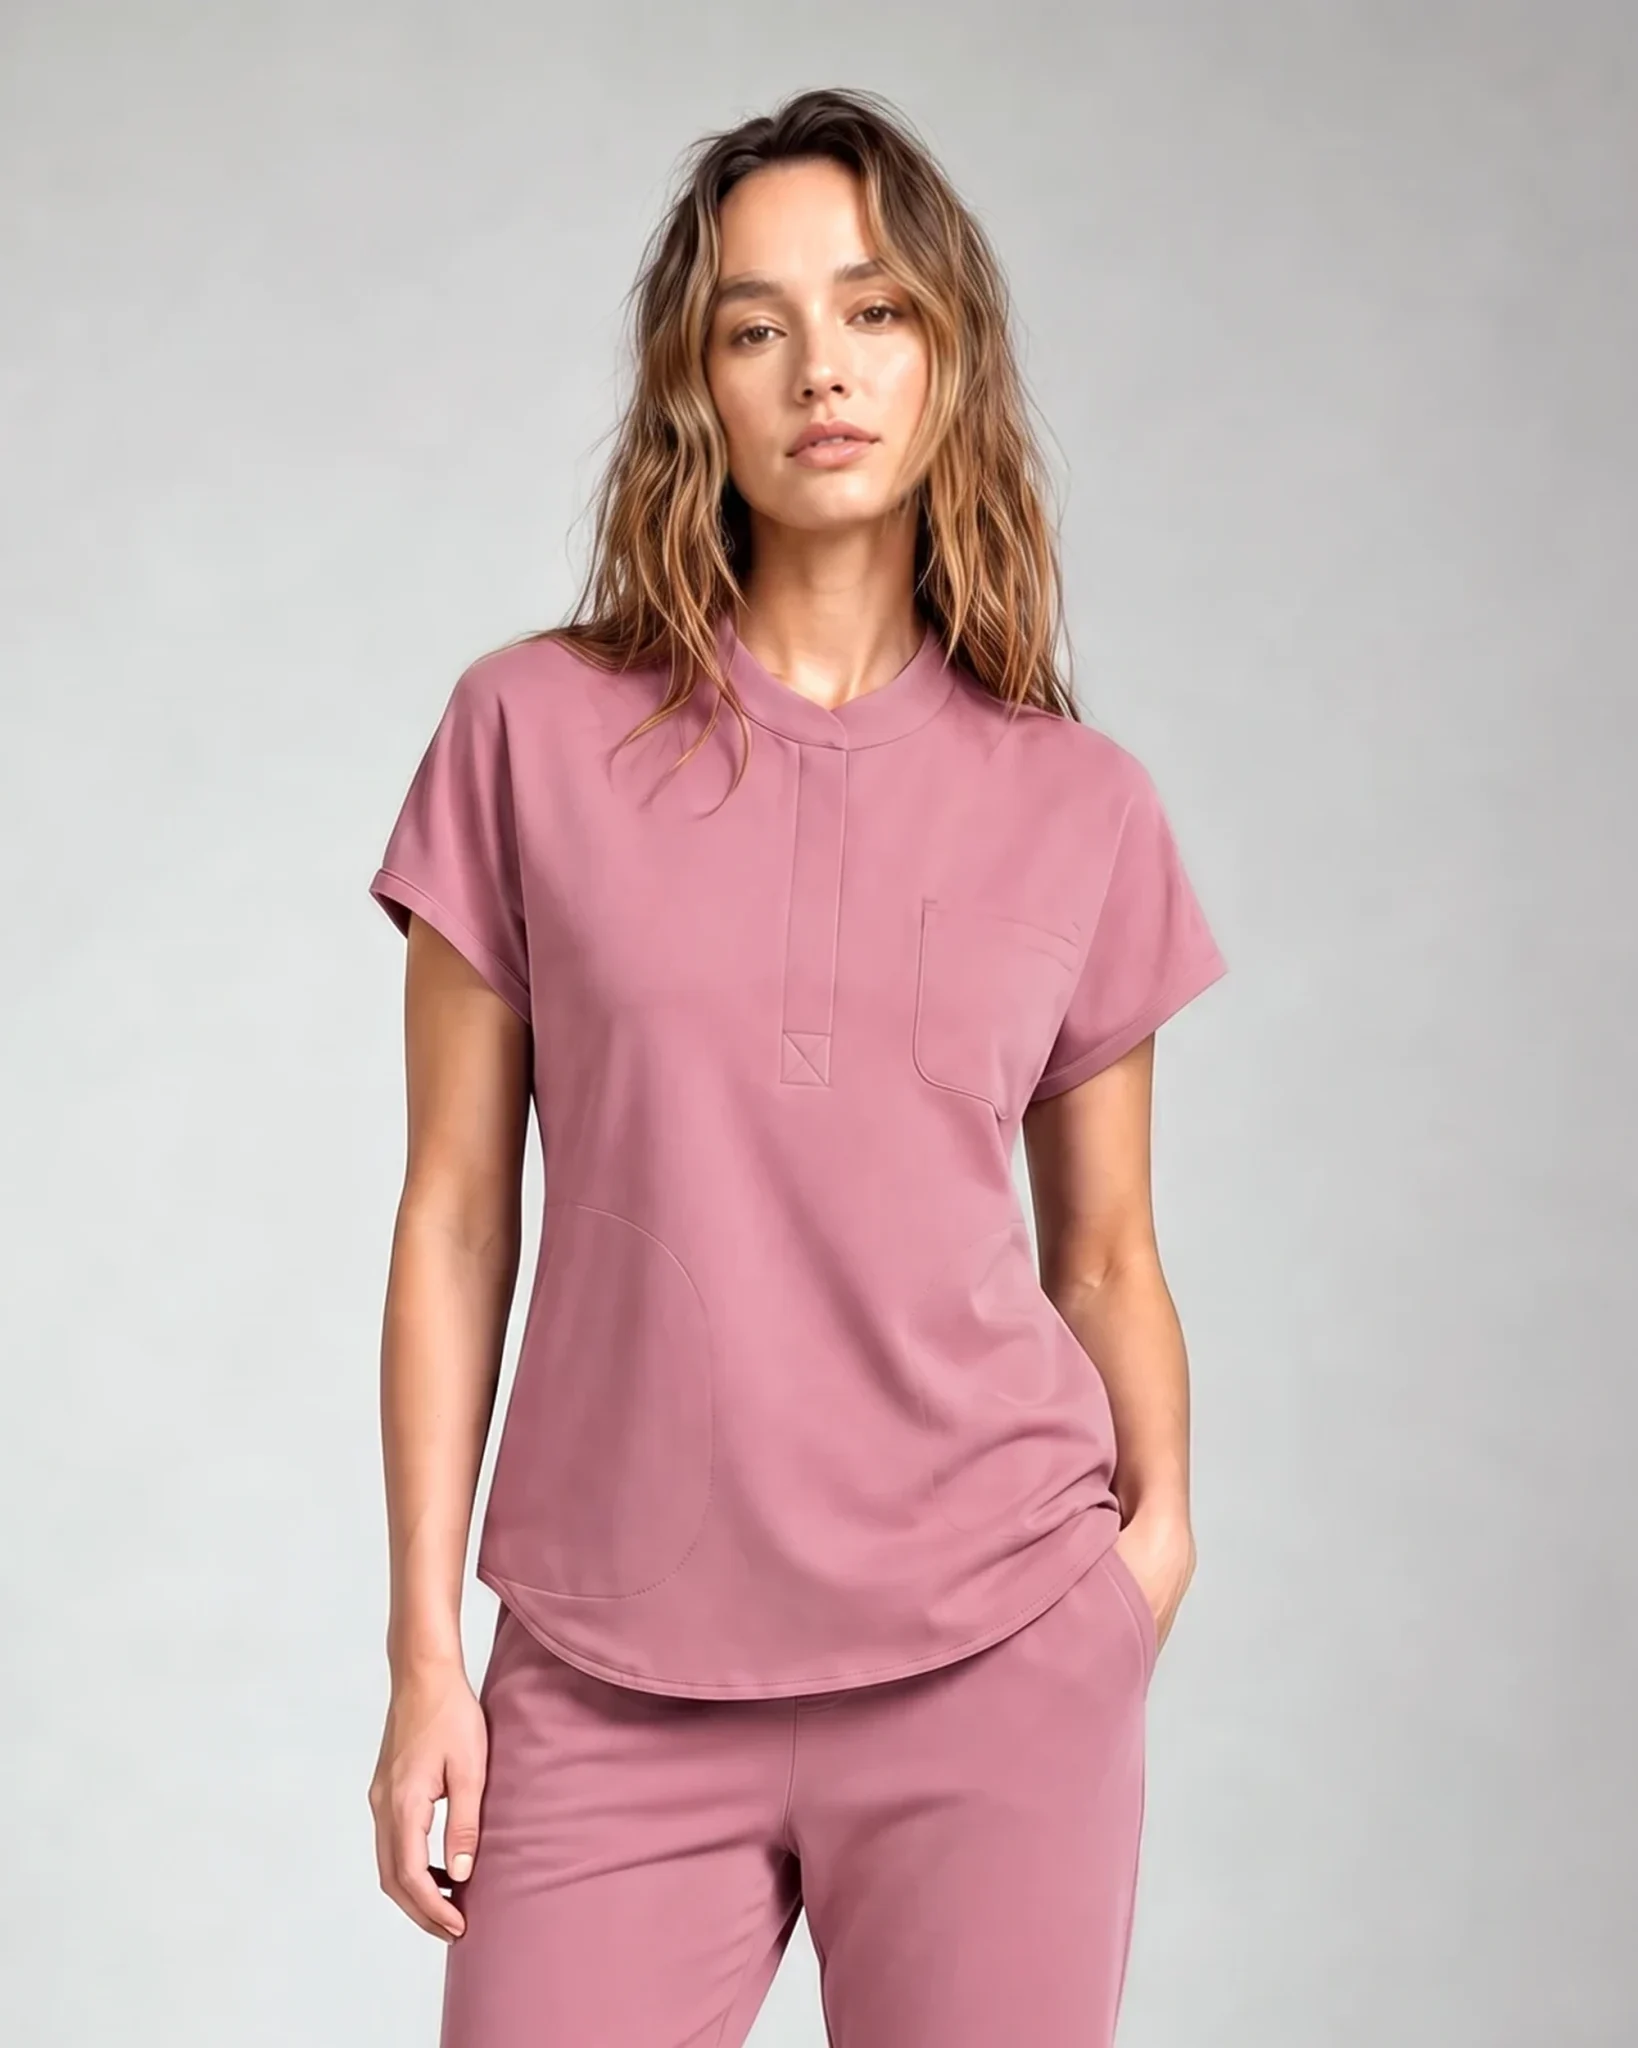

A scrub pocket test should answer a personal question: what needs to stay on your body, where do you reach for it, and what changes when that pocket is loaded? The answer comes from recording your own permitted routine, not copying someone else’s pocket list or trusting the largest number on a product page.
Use three real shifts as a starting sample, then replay the load at home with safe stand-ins before buying. Three shifts are not a durability test or proof of a typical month. They are enough to replace a vague memory with a small, comparable record.
LumiScrubs publishes this guide and sells the two pants shown near the end. We have not published a controlled loaded-pocket result for either pant. No capacity, containment, waistband-drop, seam-strength, closure-life, or long-shift performance claim is made here. Product pages, images, and return terms were checked on August 28, 2026.
The scrub pocket test in five steps
| Step | What you record | What the result can tell you |
|---|---|---|
| 1. Start empty | Garment, size, pocket locations, starting waistband position | Your baseline before load |
| 2. Log three shifts | Item, pocket, time carried, reach frequency, movement, observed problem | Which storage jobs repeat |
| 3. Build a carry map | Always carried, task-specific, stored elsewhere | How many usable locations your routine needs |
| 4. Replay at home | Safe stand-ins, one item at a time, same movement sequence | Whether a new layout works in an eligible indoor try-on |
| 5. Name the symptom | Item movement, access, body contact, pocket change, whole-garment change | Whether to compare pocket layout, garment fit, or a damage guide |
1. Make a log you will actually complete
Create one note on your phone or a folded paper card. Use the same columns for every shift:
| Date and shift | Item | Time carried | Pocket used | Reach frequency | Triggering movement | What changed? |
|---|---|---|---|---|---|---|
| Example | Phone with case | Most of shift | Right thigh | Frequent | Sat in a low chair | Top edge tilted toward opening |
| Example | Pen | First half | Chest | Frequent | Returned with one hand | Clip caught twice |
| Example | Folded note | Short task | Back | Occasional | Seated | Paper creased |
Approximate time and frequency are enough. Reuse labels such as most of shift, under one hour, frequent, and occasional so the shifts stay comparable.
Record only permitted items you actually use. Do not add something because another worker carries it. Supplies that stay on a cart, desk, tray, locker, or workstation belong under stored elsewhere, not in your base pocket requirement.
2. Record an event, not a verdict
Words such as “bad,” “deep,” or “secure” hide the useful part of the observation. Write what happened and when it happened.
Item movement
Note whether the item stayed upright, rotated, rose toward the opening, fell to one corner, or left the pocket. Add the movement that came just before it: sitting, stepping up, crouching, turning, leaning, or walking quickly.
Access
Record whether you could identify, remove, and return the item with your usual hand. If the opening caught a phone case, a divider trapped a pen clip, or two items had to come out together, write that exact sequence.
Body contact
A rigid object may feel fine while standing and press against the thigh, hip, abdomen, or chest when seated. Record the body position and the object orientation. Do not convert one person’s contact point into a universal fit claim.
Pocket and garment response
Look beyond the object. Did the opening gap? Did a side seam rotate? Did the top pull forward? Did one side of the waistband move only after the item was added? An item problem and a whole-garment fit problem lead to different shopping decisions.
Route changes
If you moved an item from chest to thigh, from thigh to front, or off the garment entirely, record why. A repeated route change is more useful than assuming the original location was acceptable because nothing fell out.
3. Use three shifts as a sample, not a magic number
At the end of each shift, sort each item into one of four groups:
- Always carried: stayed on your body for most of the shift.
- Frequently accessed: reached for often enough that placement mattered.
- Task-specific: carried for a limited part of the shift.
- Stored elsewhere: available, but not normally on your body.
After the third shift, circle the items that appeared every time. Those form your base carry map. Keep one separate line for exceptions instead of forcing the busiest shift to define every purchase.
If your schedule, assignment, or permitted items changed each day, keep logging until the routine repeats. The useful endpoint is a stable list of storage jobs, not the number three itself.
If you still need to decide pocket count, placement, and closure type, use the guide to scrubs with pockets. That page owns the buying decision. This page owns the personal observation record.
4. Replay your map at home with safe stand-ins
Do not take an unworn garment into a work area just to test it. Keep the tags attached, check the seller’s current terms, and use clean, blunt stand-ins at home. Match the approximate dimensions and mass of your normal items without using restricted, sharp, breakable, or contaminated objects.
Start empty. Note the waistband, side seams, neckline, and pocket openings, then add one stand-in at a time so you can see which load changed the garment.
Use the same sequence for every layout:
- Sit in the same chair for two minutes.
- Stand without lifting or retightening the garment.
- Step onto a stable, low step and back down.
- Crouch only as far as you normally and comfortably would.
- Walk, turn, and stop.
- Lean forward over a clean desk or chair back.
- Remove and return each stand-in with your usual hand.
Stop if an object escapes, a stand-in creates pain, or the movement is not safe for you. The goal is a repeatable fit screen, not an endurance challenge.
Run it empty, with your base map, and with the task-specific exception if that item matters. Keep the event language precise: “Waistband moved after phone stand-in entered right cargo pocket” is actionable. “Pants failed” is not.
5. Keep a personal audit separate from a product test
Your record can guide your own layout decision. It cannot establish a maximum pocket weight or prove that a product will perform the same way for everyone.
| Personal carry audit | Controlled loaded-garment test |
|---|---|
| Uses your own permitted routine | Uses a defined object set and total mass |
| May involve one garment and one wearer | Requires multiple samples and a stated sample plan |
| Records specific events and wearer observations | Uses a fixed movement sequence and repetition count |
| Helps you compare layouts | Measures results such as waistband movement, pocket-opening change, seam opening, knot retention, or closure cycles |
| Cannot support a universal product claim | Can support only the exact tested result and limits |
This distinction matters when reading product copy. A gallery can show an opening, zipper, divider, seam line, or cargo location. It cannot prove how much that pocket holds, whether an item will stay contained, or how the garment behaves after repeated loaded wear.
6. Turn the observation into the right next decision
Use the first symptom that matches your log:
| What you observed | Next question | Best owner |
|---|---|---|
| Needed items have no distinct location | How many openings and closures fit the carry map? | Scrubs with pockets |
| Whole waistband moves while pockets are empty | Is the base size, rise, or waistband system wrong? | Fit and size help |
| Waist moves only after loading one side | Does placement or the waistband system need to change? | Scrub pant drawstring guide |
| Fabric, stitching, or a pocket corner is already changing | Is this localized damage or ordinary fit tension? | Why scrub pants rip at the pocket |
Do not solve every symptom by adding pockets. A different garment size, rise, waistband construction, item location, or off-body storage routine may be the better answer.
Two current pocket layouts you can inspect
The current Women’s Straight-Leg Pant and Men’s Classic Pant product pages each list nine pockets, including a zip cargo pocket. Both were product-level in stock at $36.90 when checked. The shared count does not establish identical dimensions or loaded performance.
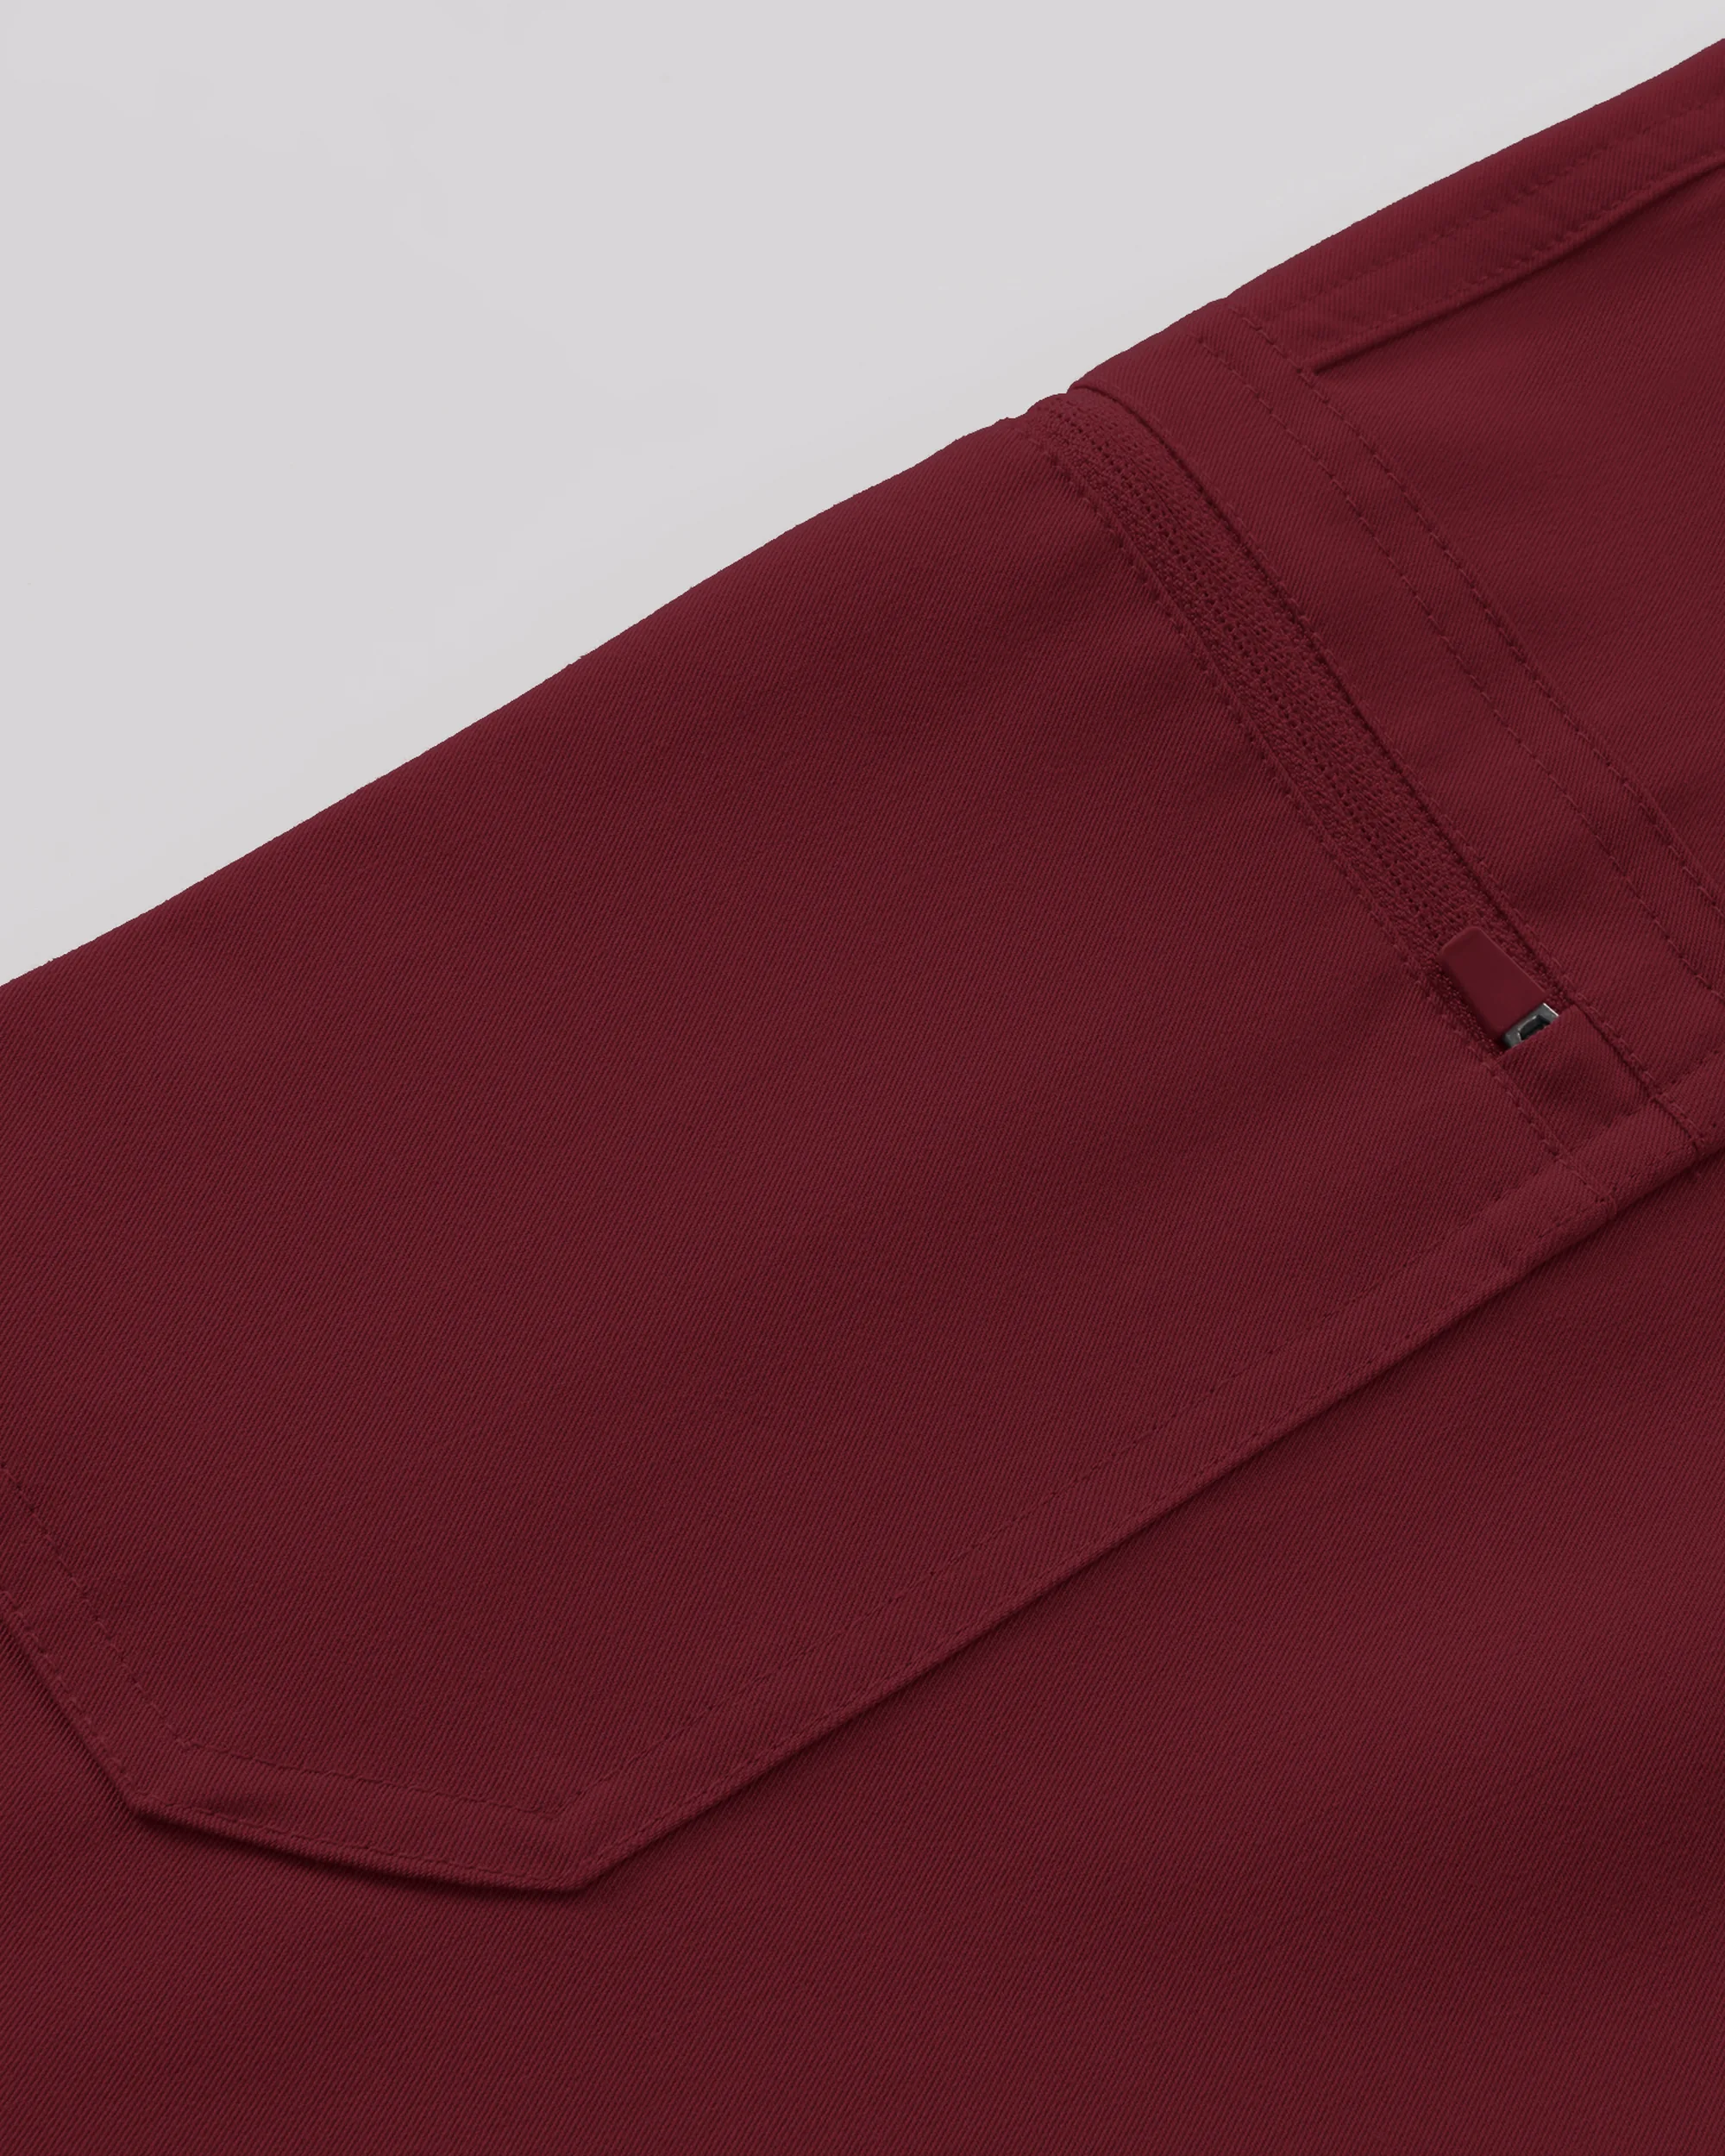
Women’s cargo close-up: visible zipper, openings, stitching, and layers only. The image is not a capacity, containment, or seam-strength test.
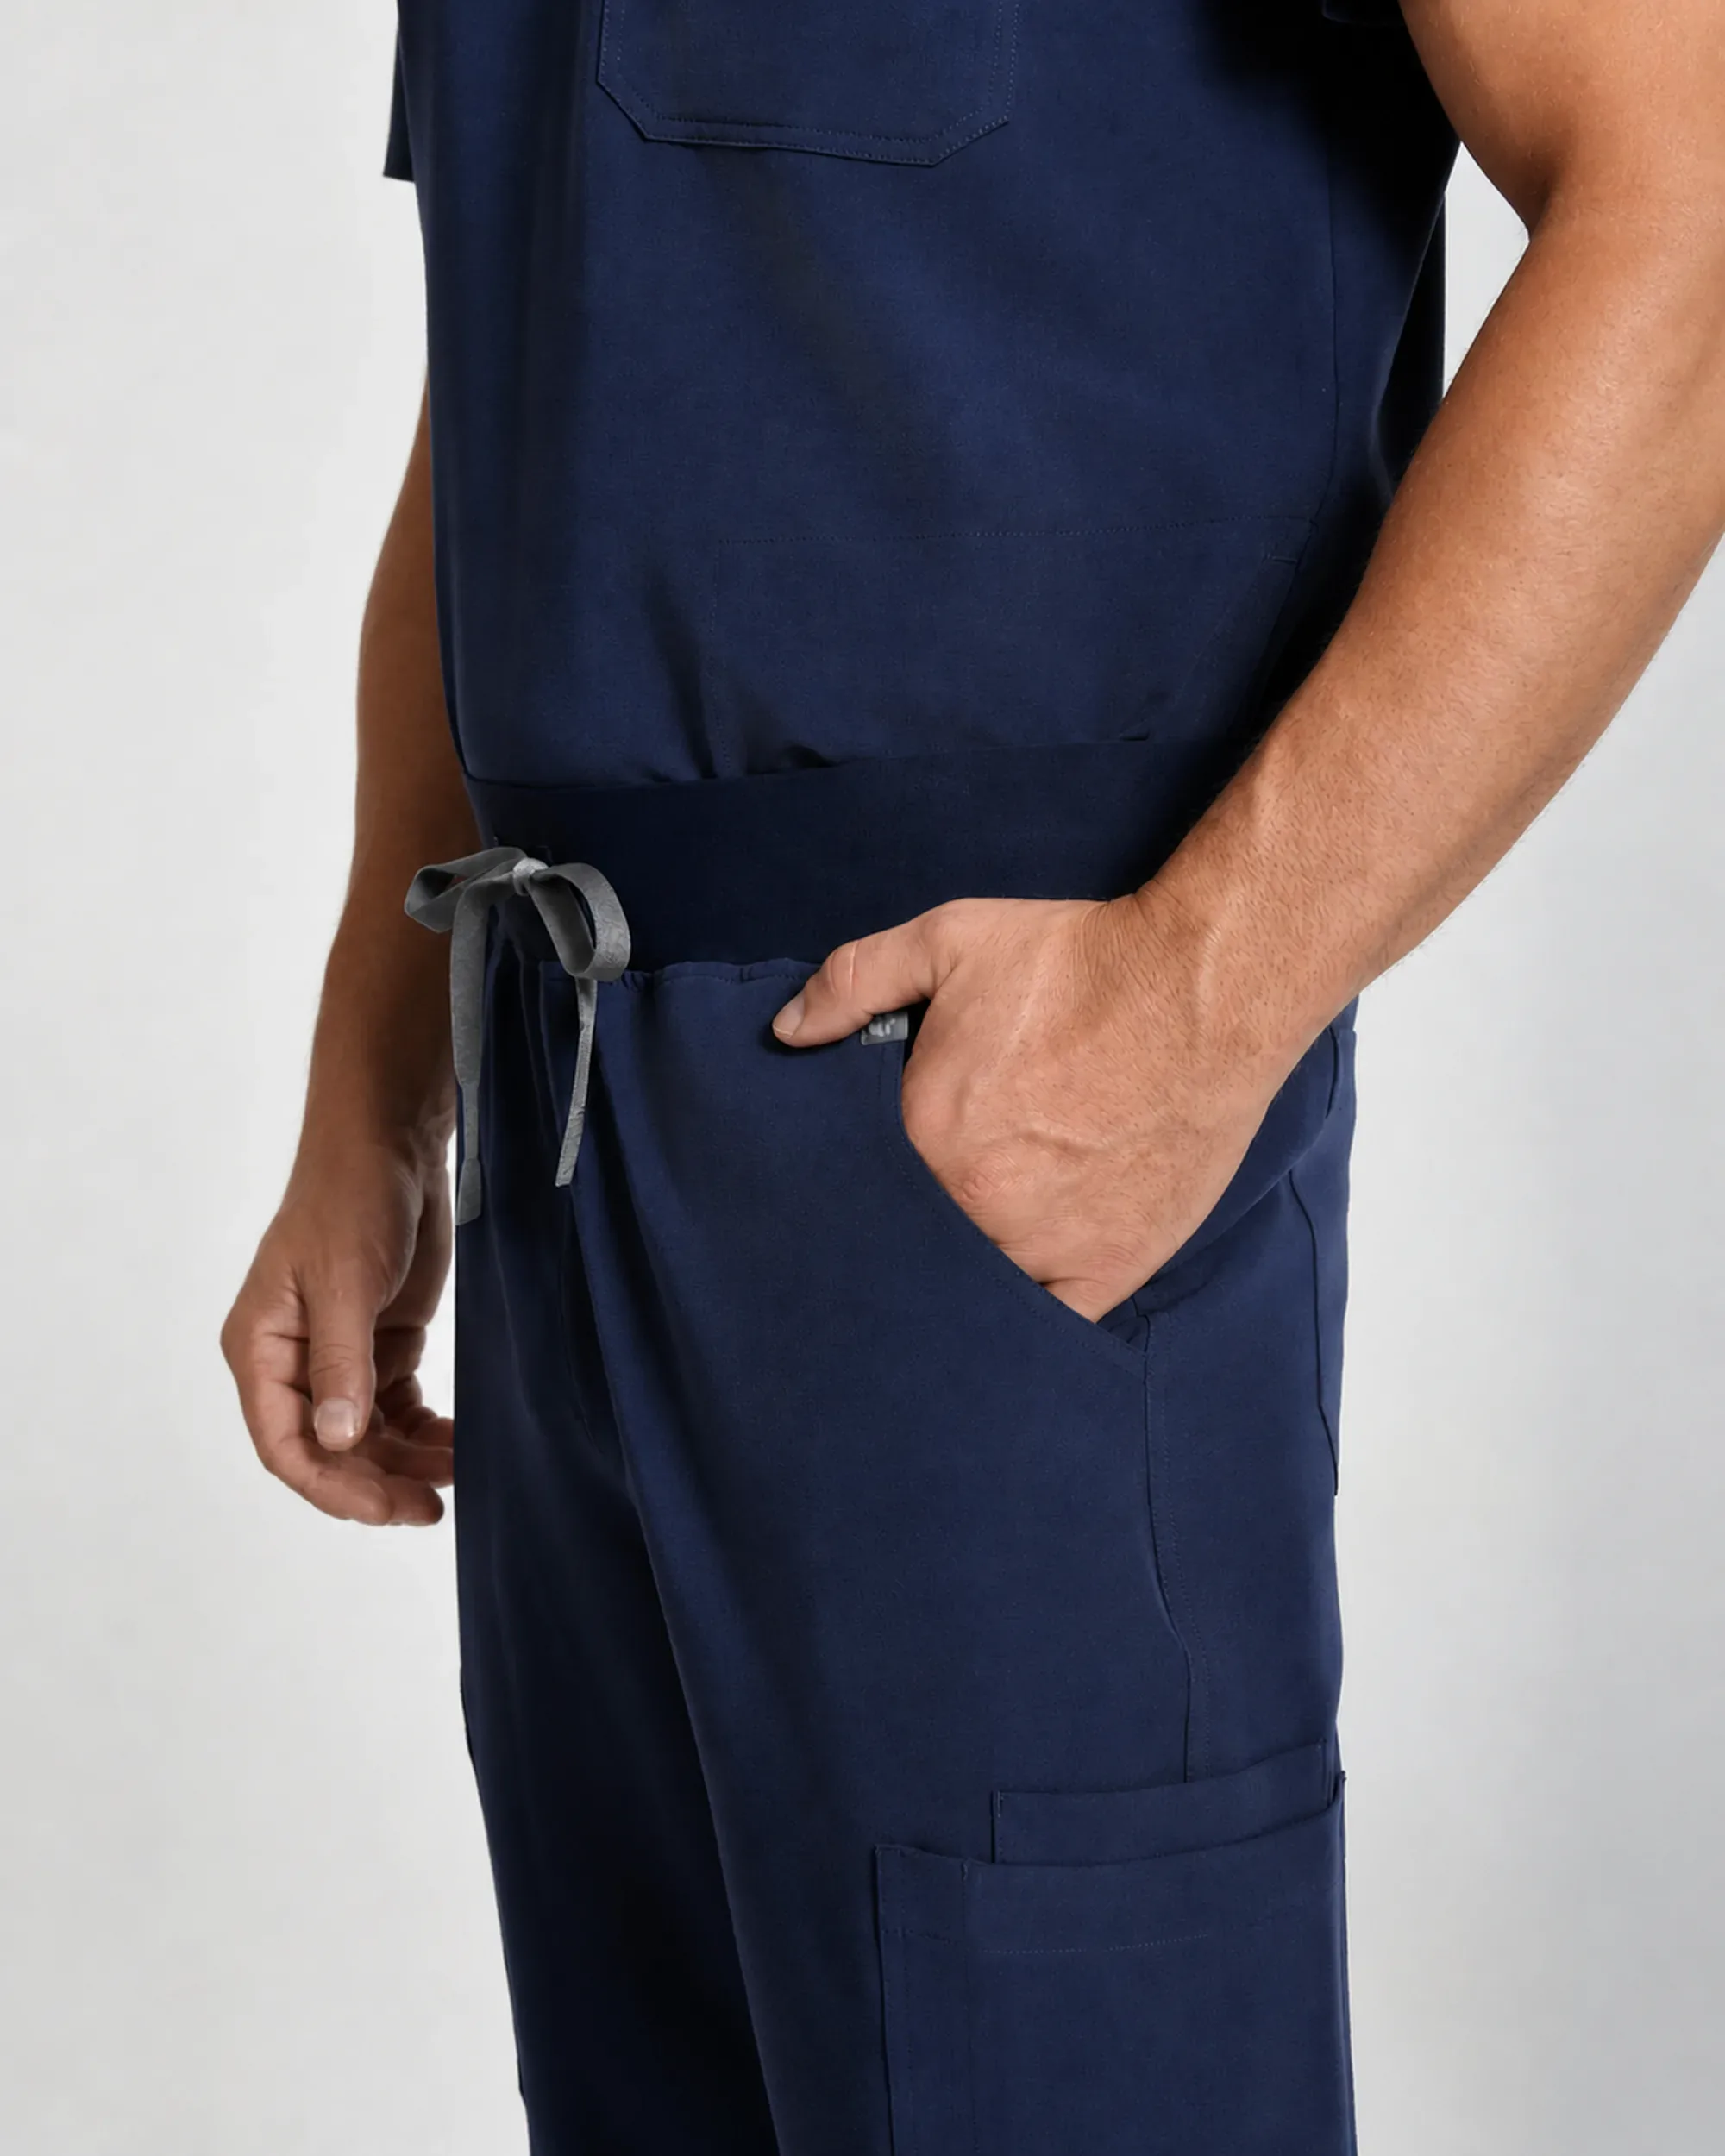
Men’s pant view: visible waistband, drawcord, front opening, and cargo location only. The model’s hand does not measure pocket depth or capacity.
If either visible layout matches your carry map, compare the two live product pages and the broader scrub pants collection, then check Shipping & Returns before an indoor tags-on replay. The current policy gives non-personalized items a 30-day return window when they are unworn, unwashed, and in original packaging.
Frequently asked questions
Why use three shifts for a scrub pocket test?
Three shifts are a practical starting sample. If the routines differ sharply, keep logging. Three is not a performance threshold.
Should I add extra items to make the test harder?
No. Record the permitted items you actually carry. Adding weight for a personal try-on creates a different question and still would not produce a controlled product result.
What counts as a pocket problem?
Record observable events: an item shifts, access changes, an object presses into the body, an opening or seam changes shape, or the rest of the garment moves. Include the trigger.
Do nine pockets mean more usable capacity?
No. Count describes openings, not dimensions, placement, closure behavior, garment fit, or loaded performance. Map your storage jobs first.
Can this test prove that scrub pants are durable?
No. A personal three-shift audit can guide your own layout decision. A durability claim requires a defined method, multiple samples, measured results, and stated limits.