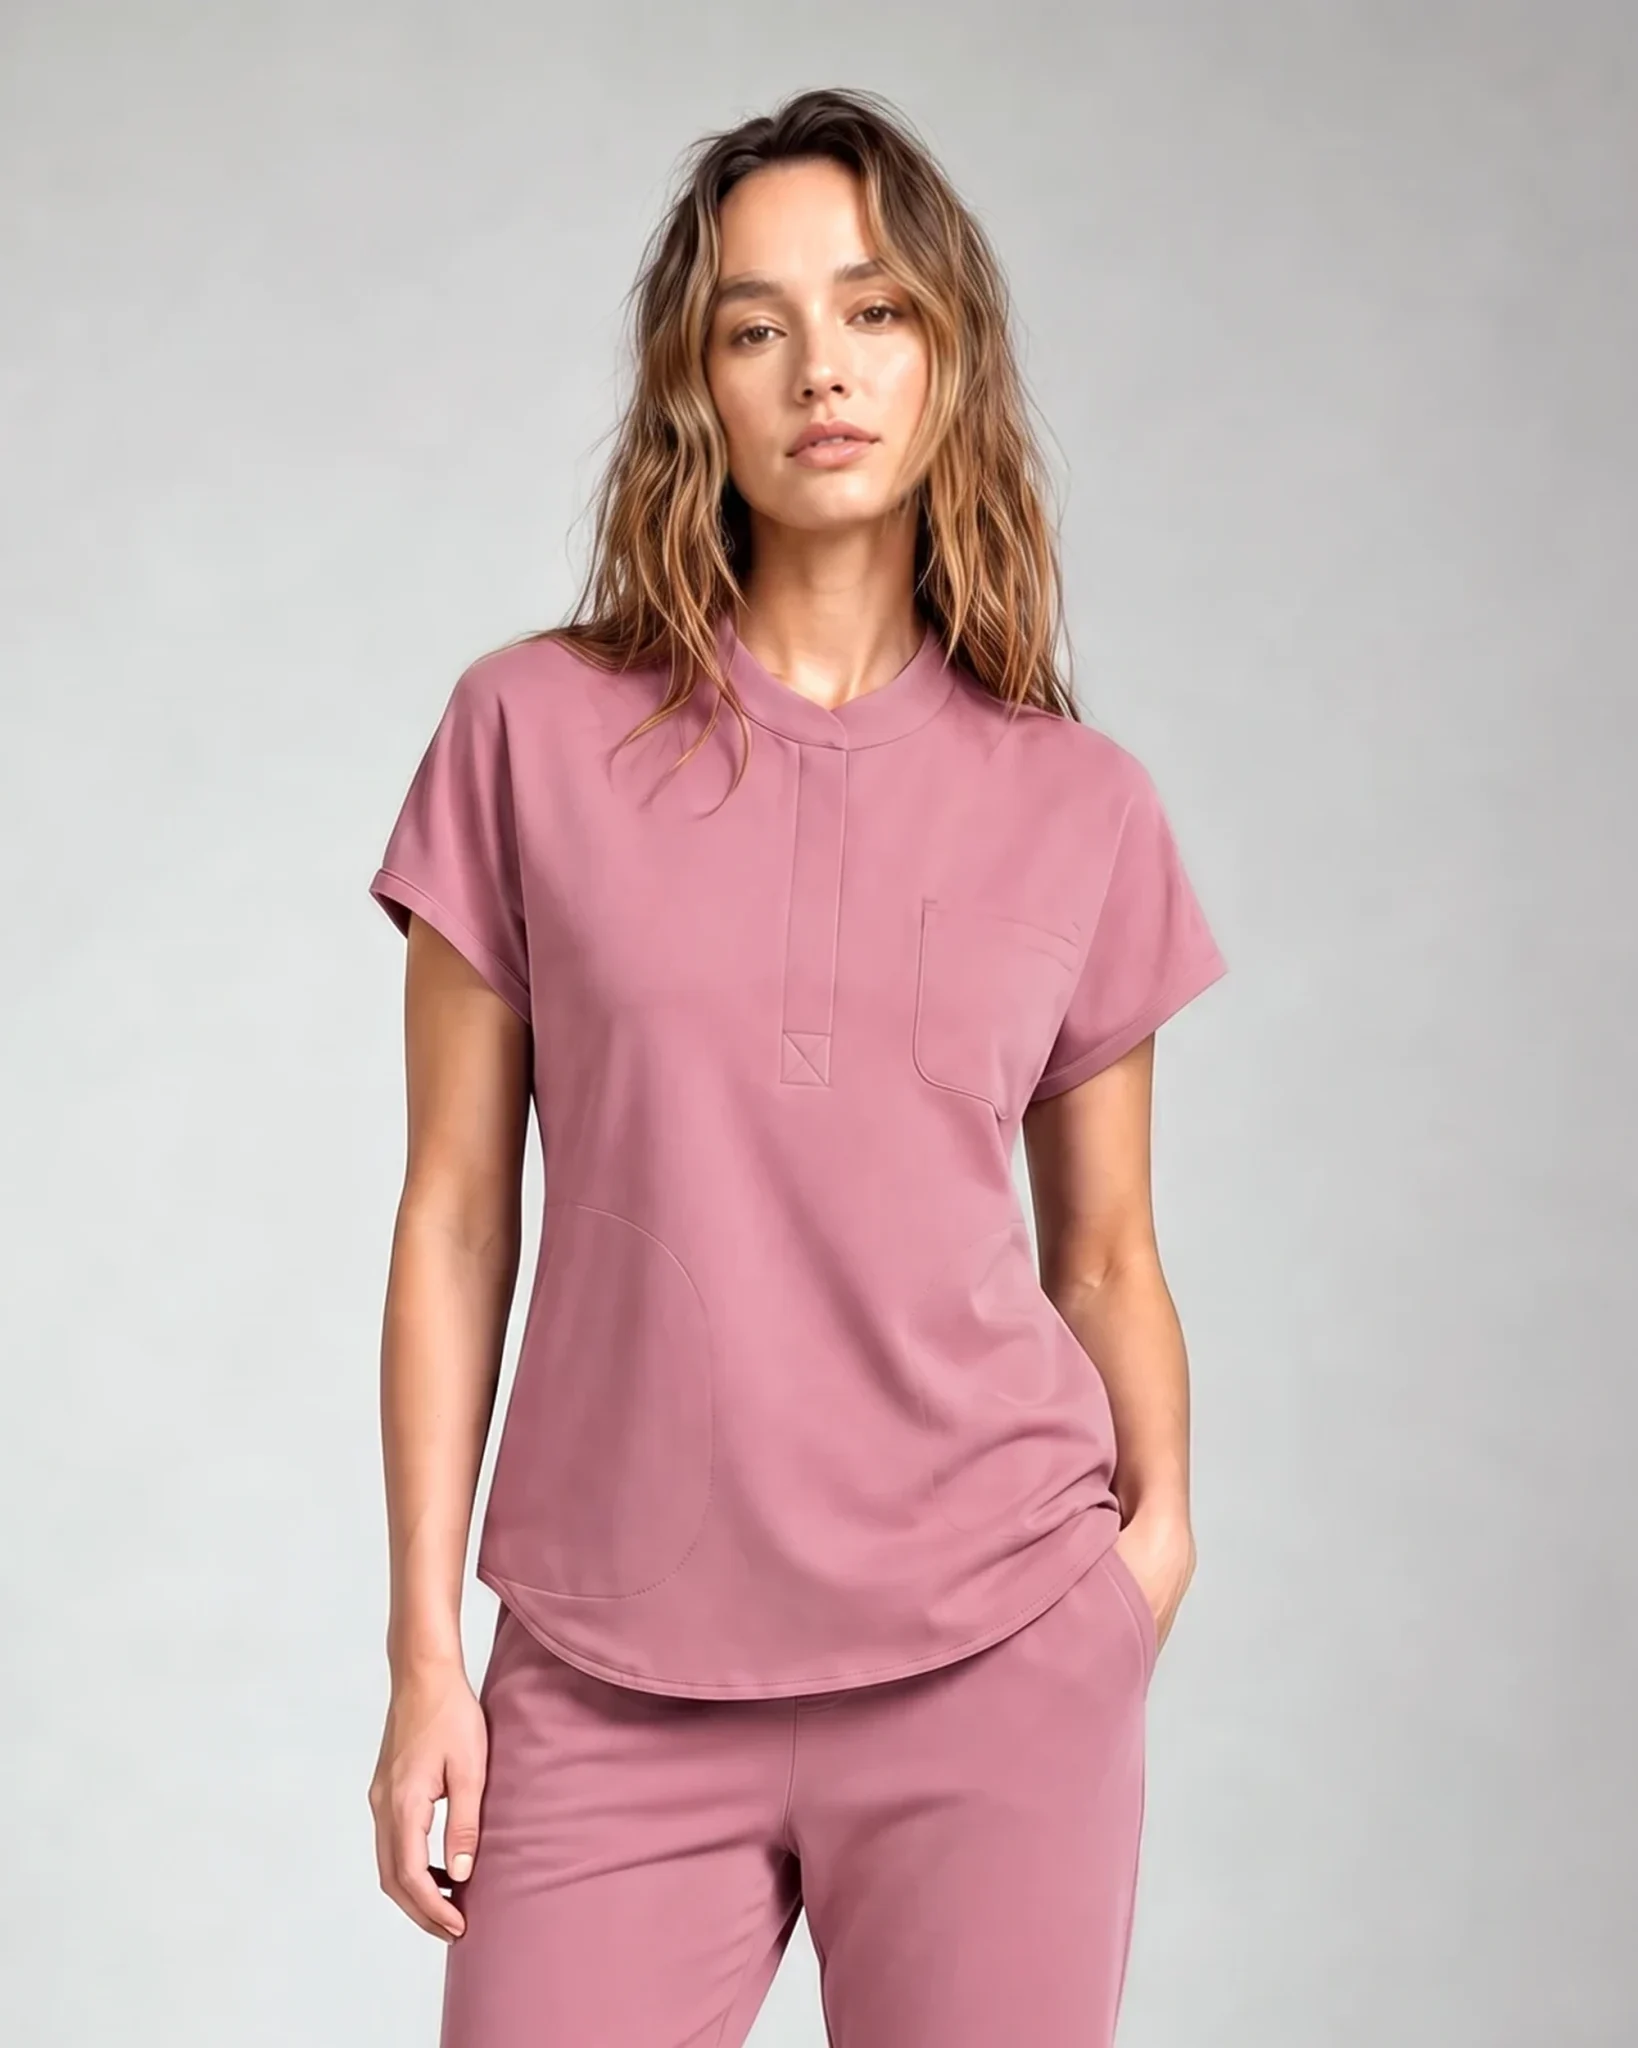

You cannot confirm that scrubs are not see-through from a color name, fiber ratio, or studio photo. Test the exact color, size, underlayer, and pocket load under several bright-light angles while standing, sitting, reaching, bending, and squatting. Keep the garment clean and the tags attached until it passes.
LumiScrubs publishes this guide and sells the two sets shown below. We have not published a finished-garment opacity test for either set. Product, image, evidence, and policy sources were checked on August 28, 2026.
The seven-step opacity check
| Step | Change one variable | What to observe |
|---|---|---|
| 1. Start empty | No items in pockets | Underlayer outline, seams, pocket bags, labels |
| 2. Use your planned layer | Same bra, underwear, shorts, or base layer | Color and edge contrast |
| 3. Change the light angle | Front, side, and back light | Areas that look different by direction |
| 4. Check three views | Front, side, and back | Seat, thigh, chest, back, and hem |
| 5. Move | Sit, reach, bend, and squat comfortably | High-tension areas |
| 6. Add permitted stand-ins | One clean, safe pocket item at a time | Dark shapes, pocket-bag outlines, pulling |
| 7. Repeat before retirement | Same setup after visible wear or a fit change | Difference from your own baseline |
This is a personal garment check, not a laboratory method. It can help you decide whether one outfit works in your planned conditions. It cannot create a brand-wide opacity rating or a guarantee for every body, size, color, layer, and light source.
1. Preserve return eligibility first
Run the first test indoors while the item is blank, clean, unworn outside the home, unwashed, and unaltered. Do not take it into a work area to “test the real lighting.” A bright room, a window, a lamp, and a phone camera can reveal changes without exposing the garment to work.
Check the seller’s current terms before you begin. LumiScrubs’ current Shipping & Returns page gives eligible non-personalized items 30 days when they are unworn, unwashed, and in original packaging. Complete the decision before washing or customization.
2. Use the underlayer you plan to wear
Opacity belongs to the combination, not the scrub alone. Test the same bra, underwear, shorts, or base layer you expect to use. Note both color contrast and edge contrast.
Try at least two clean options if the first creates a visible outline. A lower-contrast color may help, but do not assume that white under white, black under dark fabric, or any single “nude” shade disappears on every skin tone and under every light.
Keep the underlayer coverage itself within your workplace rules. If neckline or sleeve coverage is the problem, use the guide to what to wear under scrubs rather than treating an extra layer as an automatic fix.
3. Change the direction of the light
Soft front light can hide what backlight reveals. Use three repeatable positions in the same room:
- Face a bright window or lamp.
- Turn sideways to it.
- Stand with the light behind you while the camera or observer remains in front.
Then repeat under the brightest overhead light available at home. Do not point a high-powered light at your eyes or hold a hot lamp close to the fabric.
Record the light position, room, time, and whether curtains or other lights were on. “Looked fine in my bedroom” is hard to repeat; “backlit by the east window at 9 a.m.” is useful.
4. Check the whole outfit from three views
Use a trusted observer or a phone camera on a timer. Turn off beauty, blur, portrait, or exposure-altering filters. Keep the camera distance and height consistent.
For the pant, inspect:
- seat and upper thigh;
- front rise and pocket bags;
- knees during bending;
- labels or dark underlayer edges;
- seams that create contrast.
For the top, inspect:
- chest and back while reaching;
- underarm when both arms rise;
- neckline while leaning;
- hem when tucked or untucked;
- pocket outlines with the pocket empty.
Do not judge from one close-up. A tight crop may miss the overall outline, while a distant view may hide a local contrast line.
5. Add movement without changing the setup
Stand still first, then sit, reach forward, lift both arms, bend, and squat only as far as you comfortably would. Use the same camera, underlayer, and light for every position.
Fabric can look different where the garment is under more tension. That does not mean every fitted pant is sheer or every loose pant is opaque. It means you should test the size and cut you will actually wear.
If the garment pulls before washing, compare another size or silhouette while it remains eligible. The fit and size guide owns the measurement decision. Do not plan on washing a tight garment into a better fit.
6. Test pocket contrast and load separately
Start with empty pockets. Look for the pocket-bag outline itself. Then add one clean, safe stand-in at a time for the permitted items you normally carry.
Record whether the object’s color or edge becomes visible and whether the loaded pocket changes fabric tension. A phone-shaped outline, dark package, or folded paper can create a different result from the underlayer.
Do not fill every pocket just to make the test harder. The scrub pocket test helps you build a realistic carry map before you choose the stand-ins.
7. Recheck when the garment or fit changes
Create one baseline photo set while the garment is clean and dry. Repeat the same setup if you notice thinning, texture change, a new pull line, a size change, or a different base layer.
The after-wash guide explains how to measure scrub fit before and after washing without assuming a shrink result. The longevity guide explains when a coverage change belongs in a broader repair or retirement decision.
Do not assign a fixed wash count or calendar. Compare the garment with its own baseline and record what changed.
What product evidence can—and cannot—answer
Fiber composition, stretch, air movement, surface repellency, and opacity are different properties. The current LumiScrubs fabric evidence does not include a published finished-garment opacity result. A water-beading image, airflow number, or fiber ratio cannot replace the home light-and-movement check.
The current Women’s Core Scrub Set and Women’s Motion Scrub Set were product-level in stock at $64.90 when checked. Their product pages let buyers choose top and pant sizes separately. Those facts do not establish opacity.
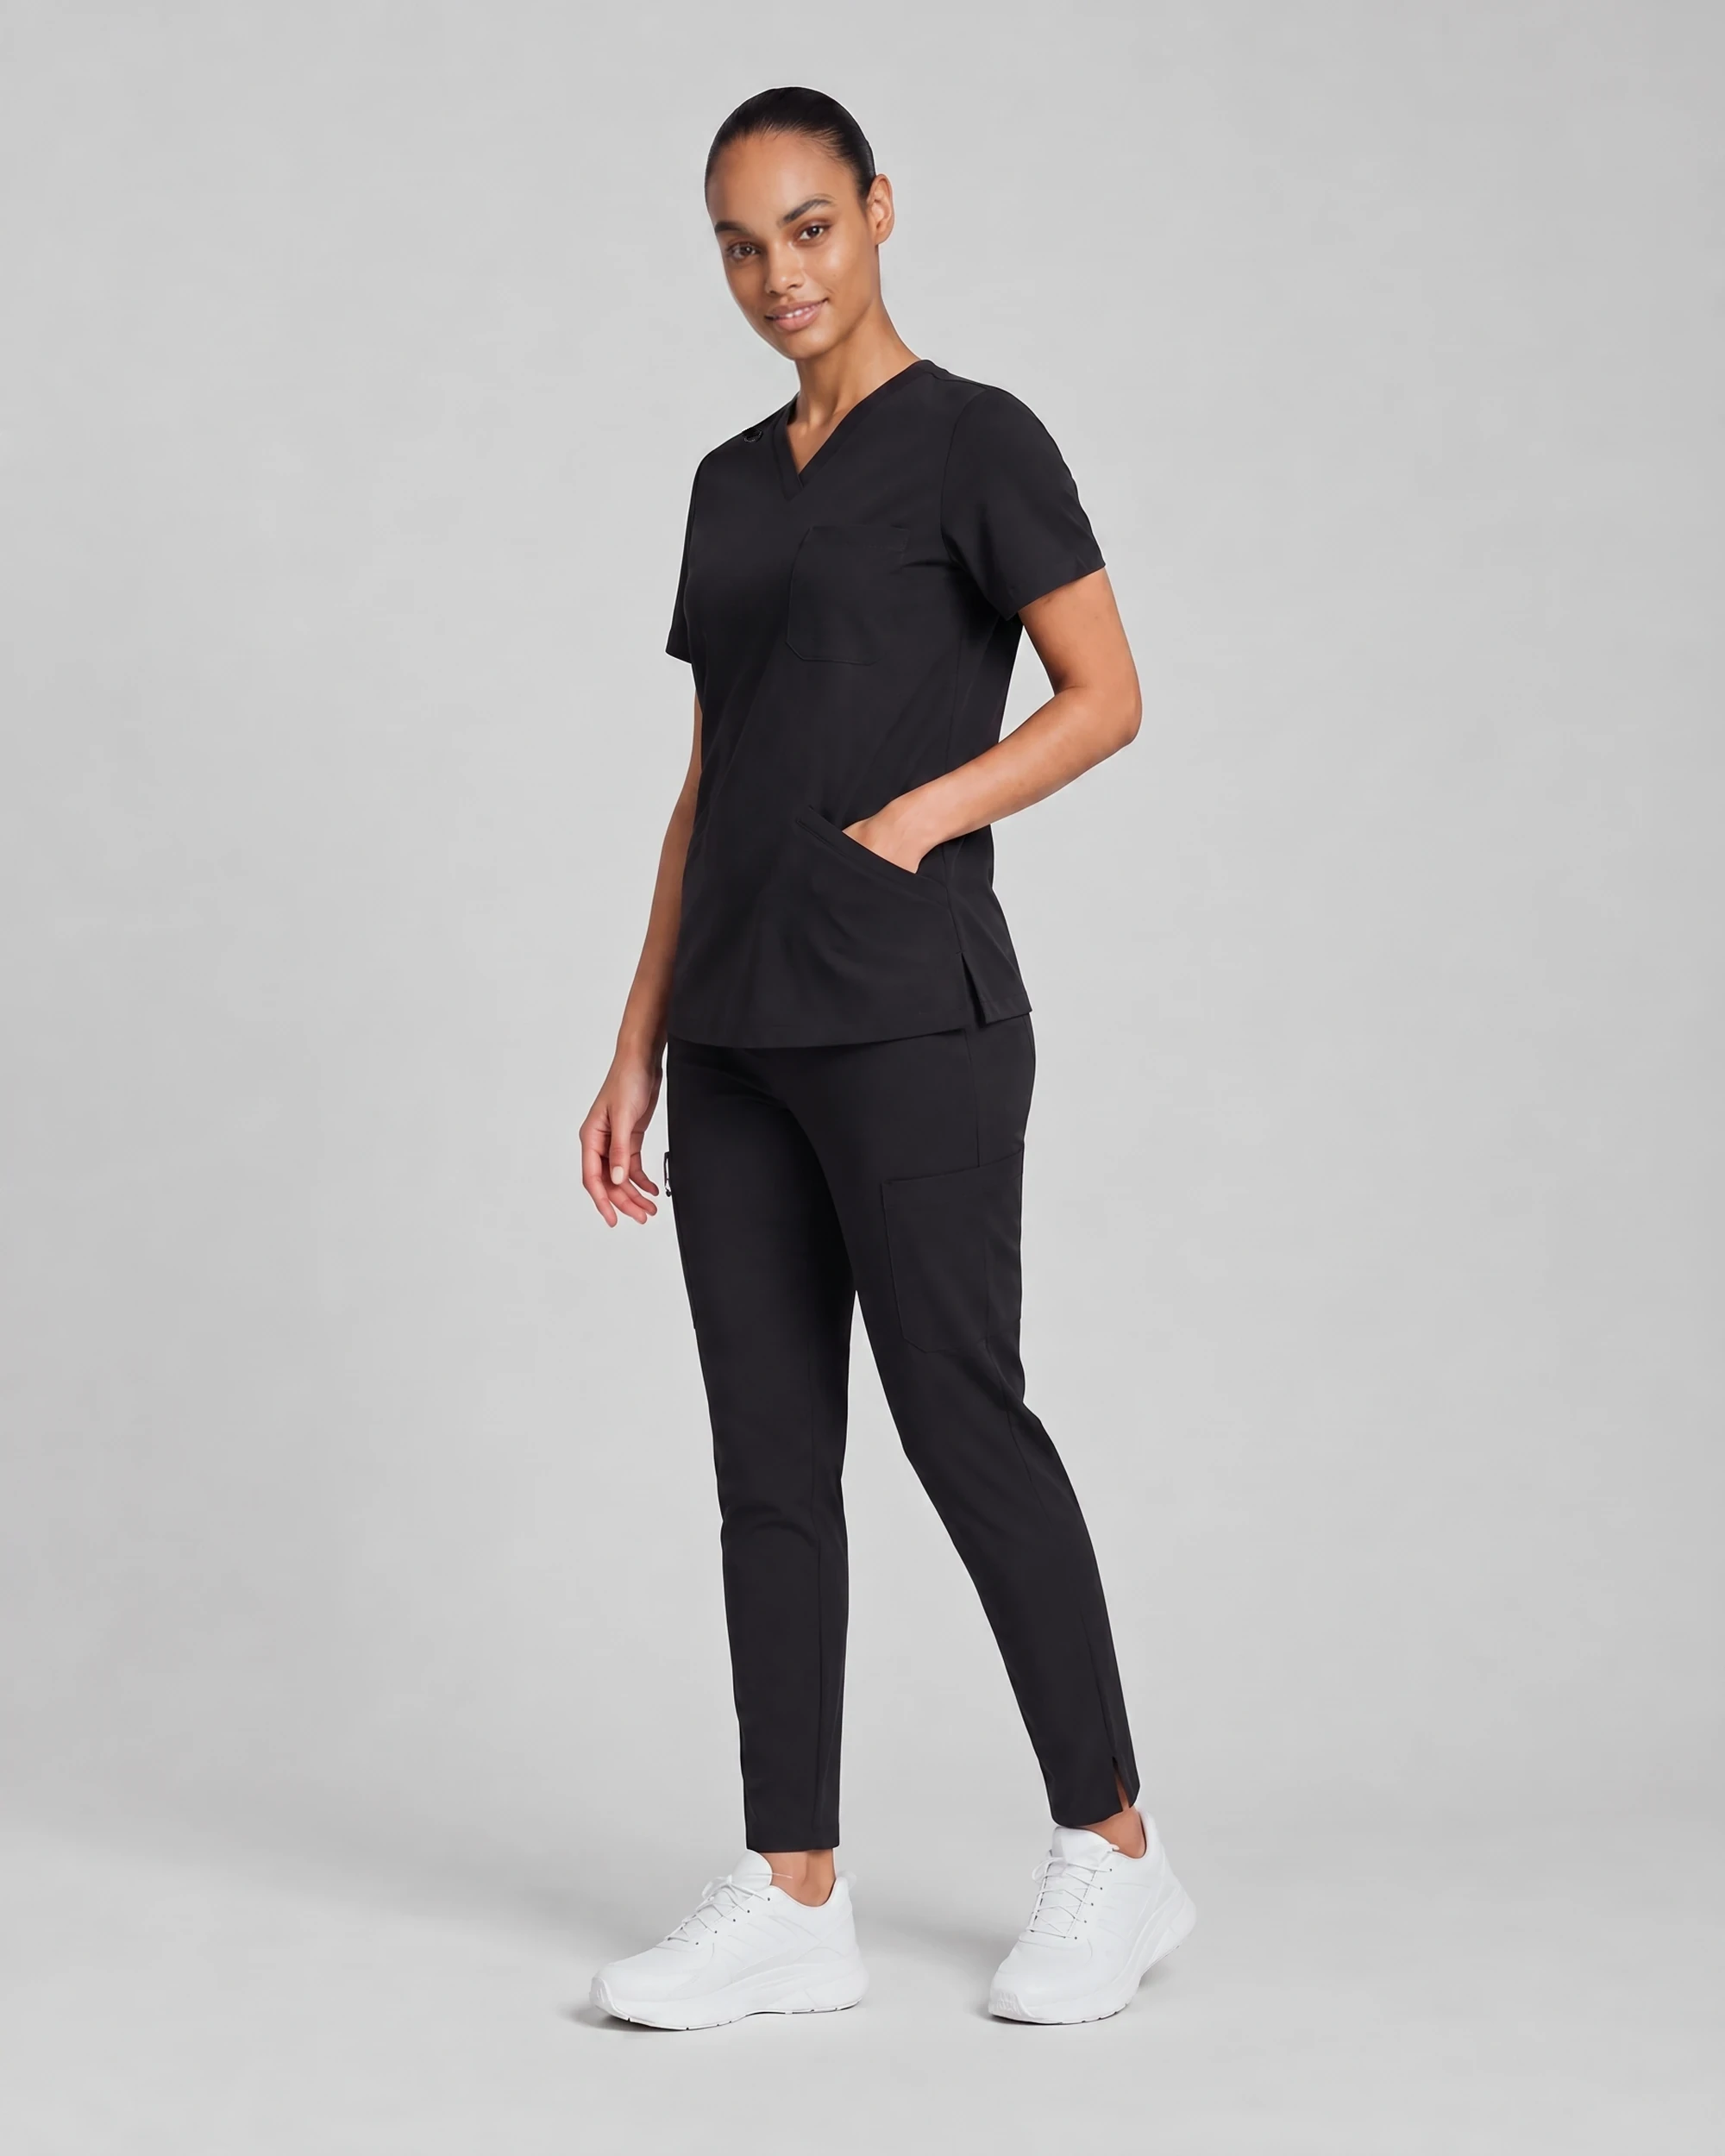
The image shows visible neckline, pockets, top length, and straight-leg construction in studio conditions. It is not an opacity, backlight, stretch, or movement test.
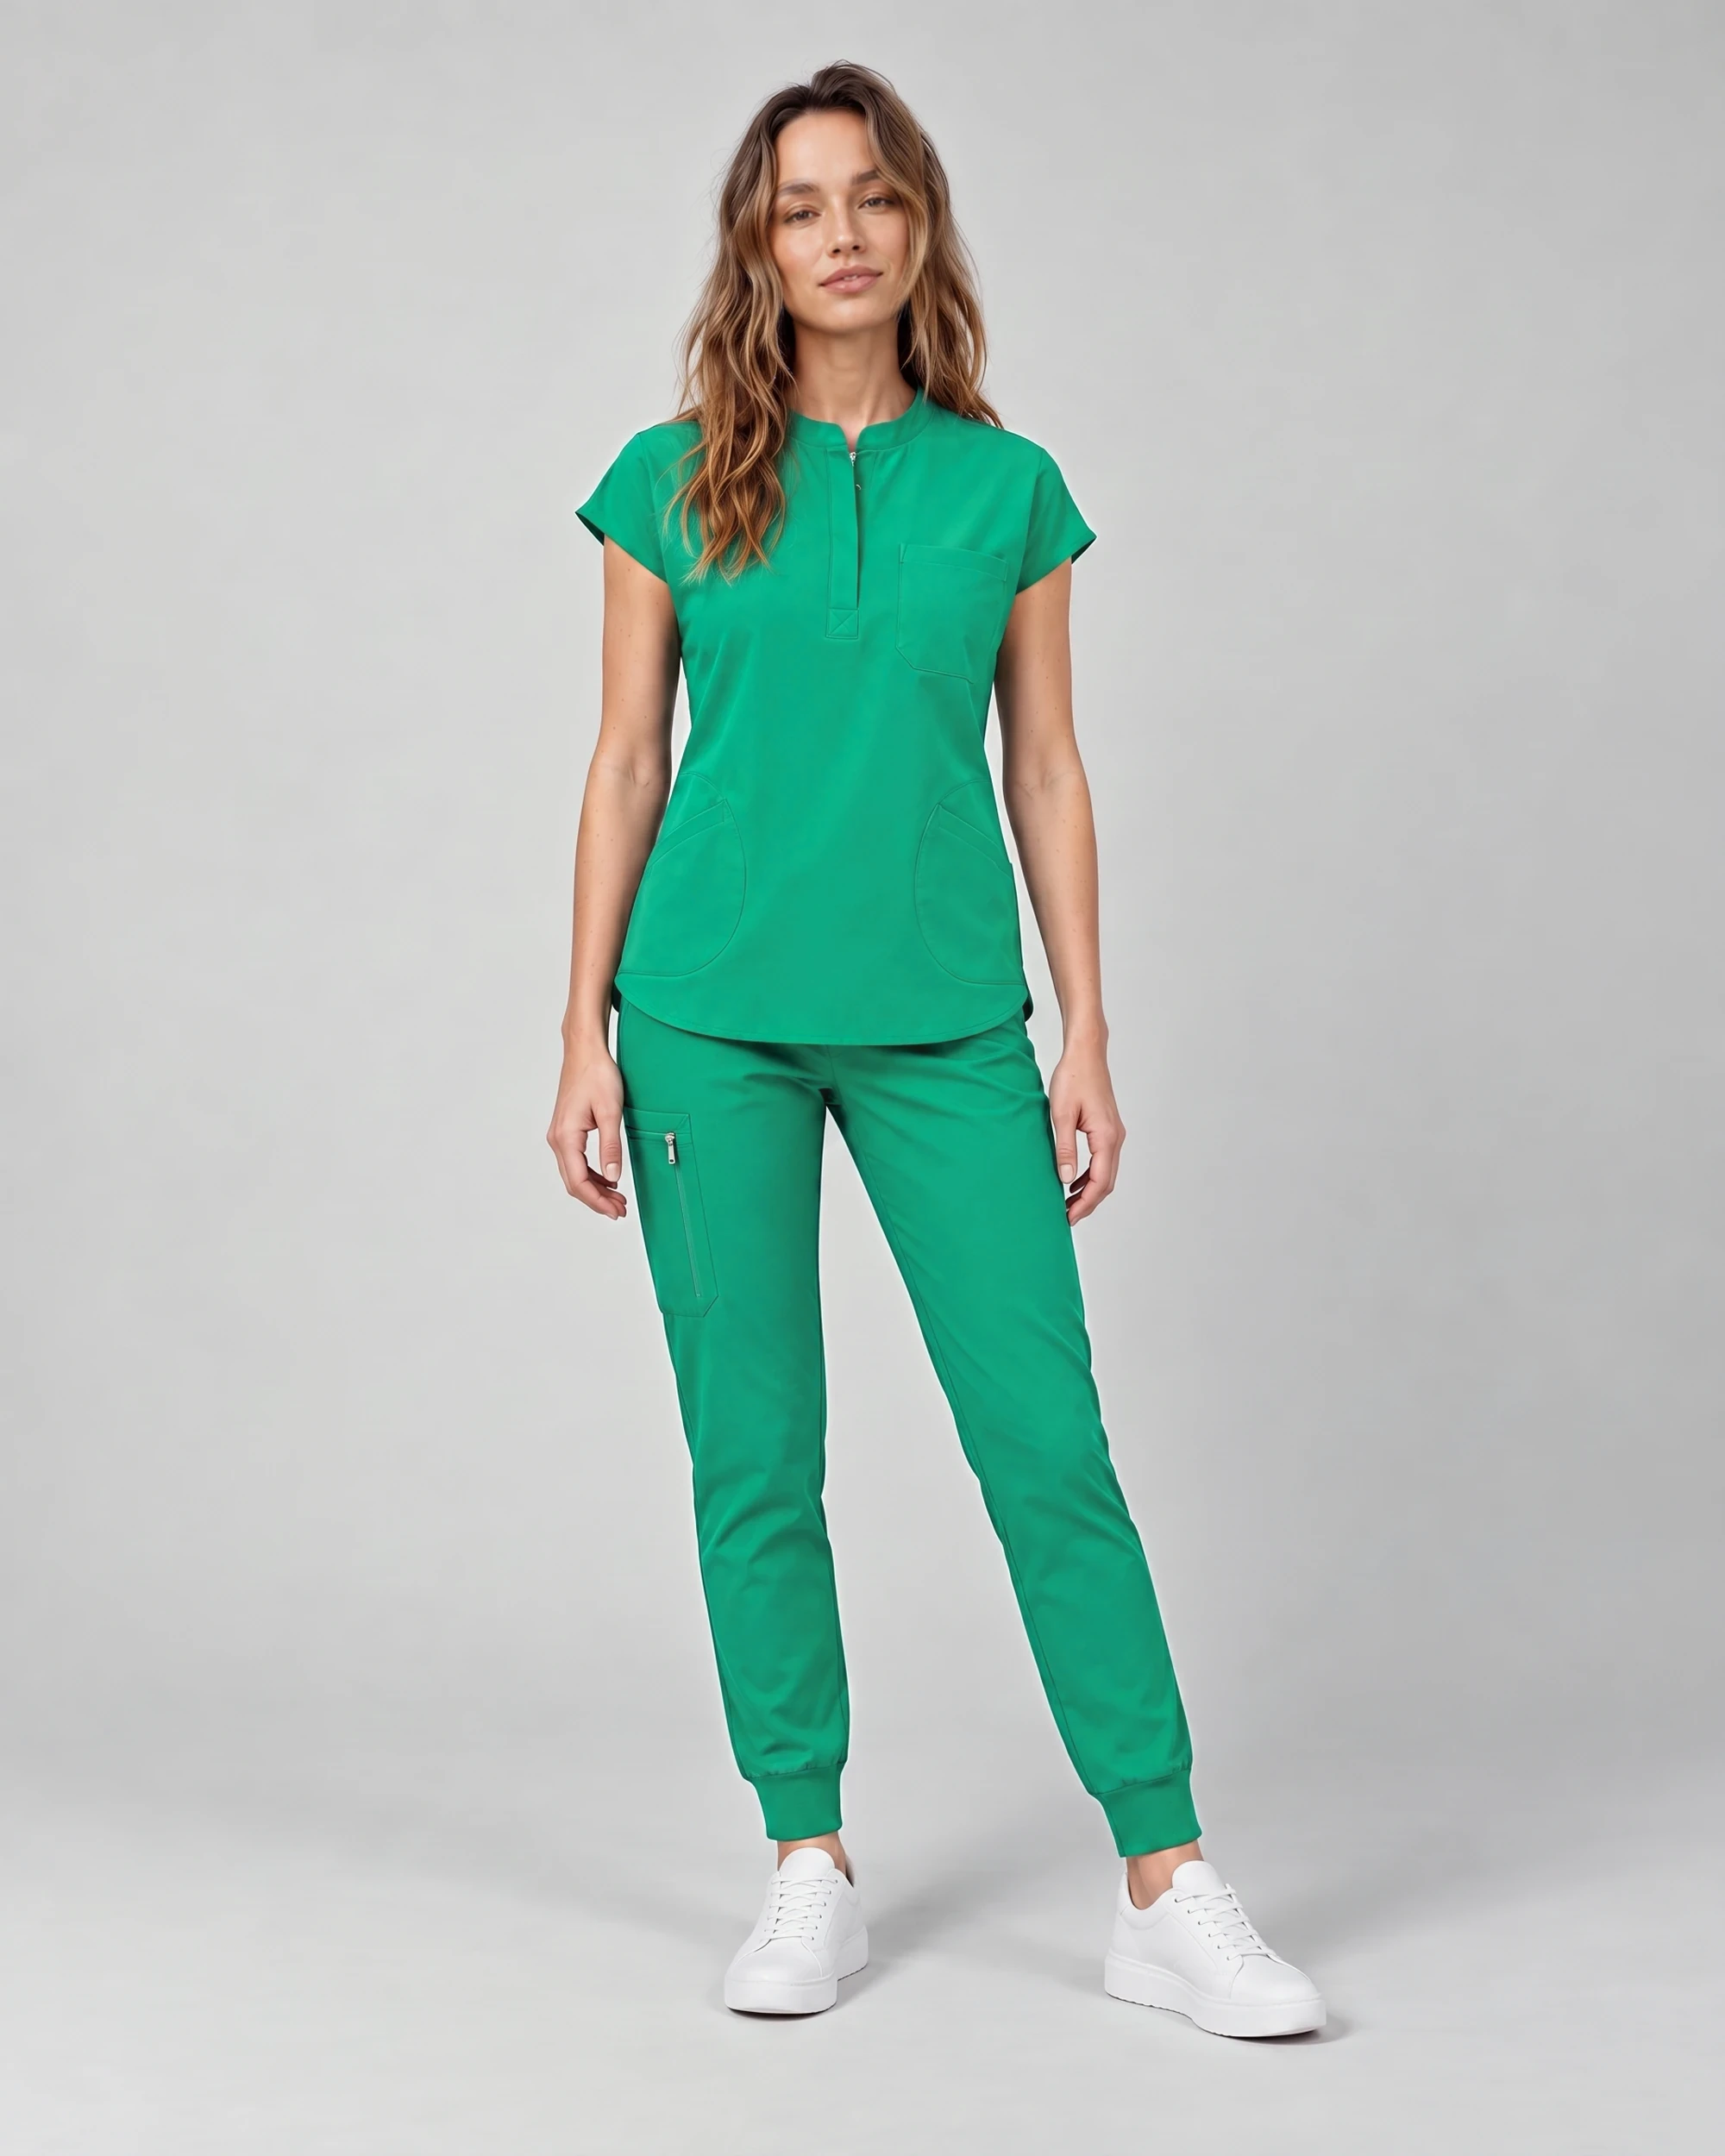
The front view shows visible top and jogger construction. It does not prove coverage under another light, layer, size, body, or movement.
If either cut fits your measurement plan, compare the two live set pages or browse the current scrub sets, then run the seven-step check before removing tags.
Frequently asked questions
What color scrubs are least likely to look see-through?
Color alone cannot answer. Dark fabric may reduce some visible contrast, but fit, tension, light direction, underlayer, pocket bags, and carried items still matter. Test the exact combination.
Can I use a phone flashlight to test scrubs?
Use it as one angle, not the entire test. Repeat under bright overhead and backlit room conditions while wearing the planned underlayer and moving.
Why do scrub pants look different when I squat?
The garment is under different tension across the seat, hip, and thigh. Compare another size or cut if the planned fit becomes visibly different in normal movement.
Are LumiScrubs guaranteed not to be see-through?
No. LumiScrubs has not published a finished-garment opacity result that supports an absolute guarantee. Test the exact item at home while it remains eligible.
Can I return scrubs that fail my home opacity check?
Current non-personalized eligibility requires the item to be unworn, unwashed, and in original packaging within 30 days. Read the live policy before ordering or customizing.